Quick Start with BrowserAct: Create and Run Your First Agent in Minutes

Learn how to get started with BrowserAct – from account creation to configuring and running your first web scraper agent. Customize your agent with detailed settings like IP address, language model, and task instructions. Monitor real-time actions, manage credits, and fine-tune data collection workflows efficiently.
Getting Started
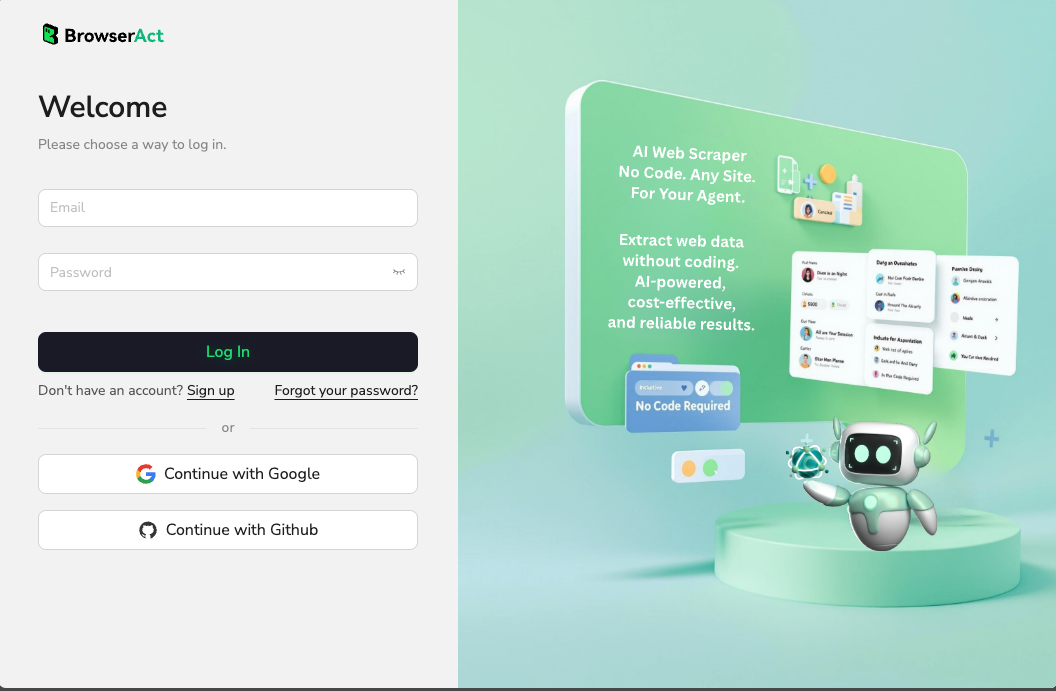
To begin using BrowserAct, you'll need to create an account. You can log in using your email address, Google account, or GitHub account. Choose whichever method is most convenient for you.
Creating Your First Agent
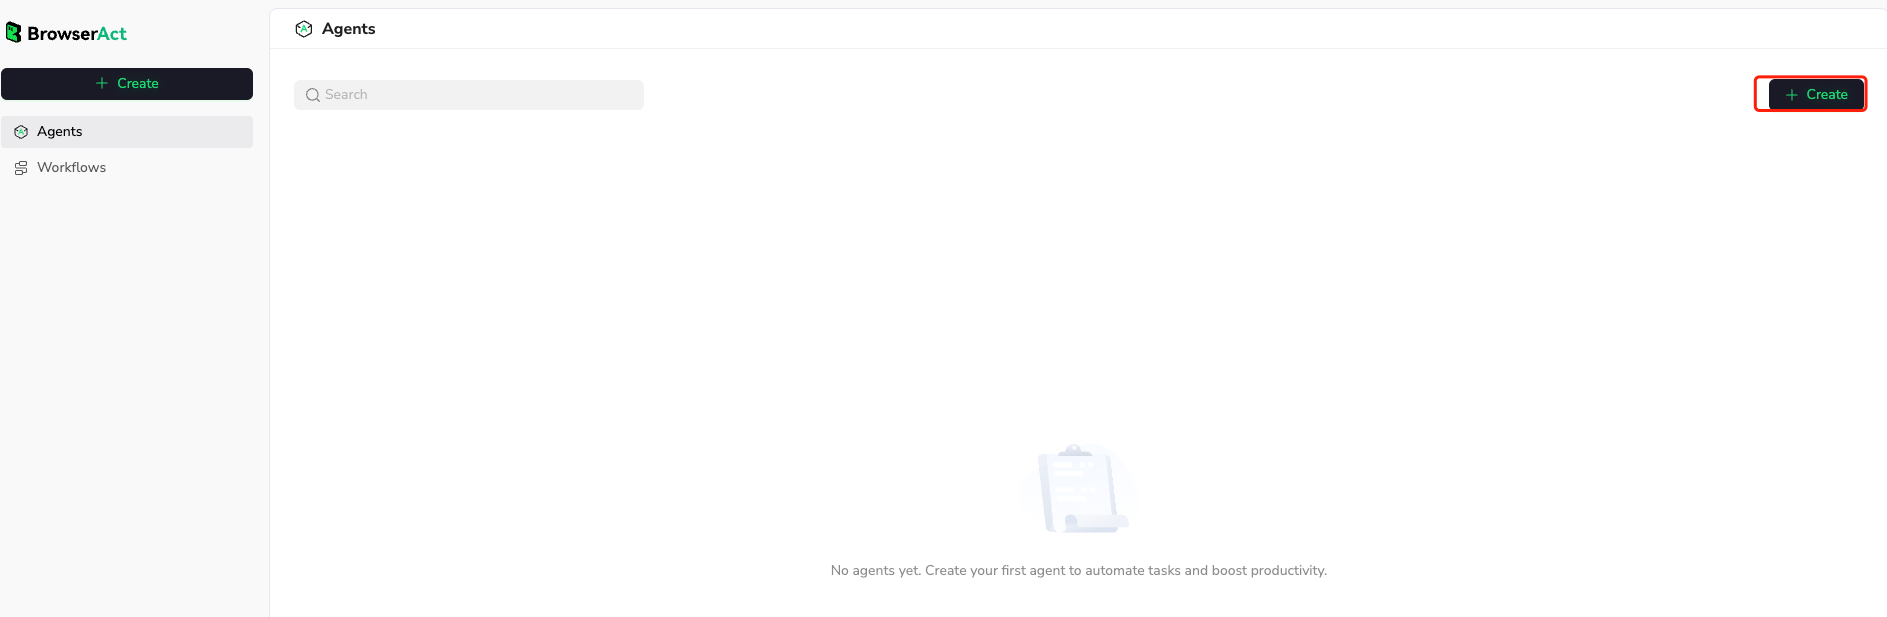
Once you're logged in, look for the "+Create" button to start building your new agent. Creating an agent allows you to configure the language model and IP address settings, plus organize your tasks by category. In the future, you'll be able to create custom workflows through API calls, making your agent a powerful assistant for your specific needs.
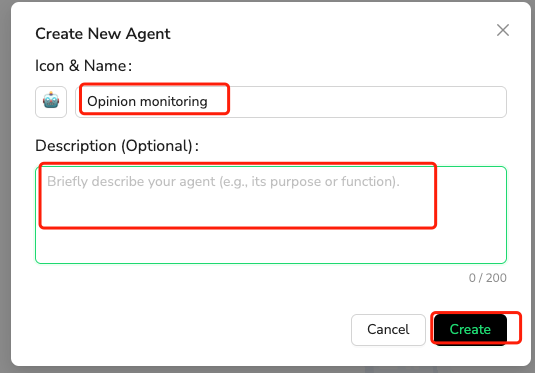
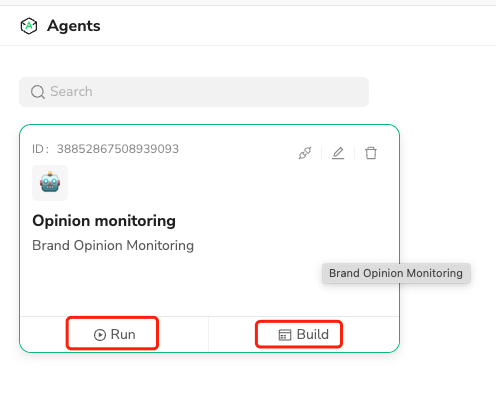
When setting up your agent, you can customize the icon, name, and description to clearly identify what this agent is designed to do. This helps keep your different agents organized and makes it easy to select the right one for each task.
You can set your agent's Iconto, Name, and Description to make it clear what it's used for.
Configuring Your Agent
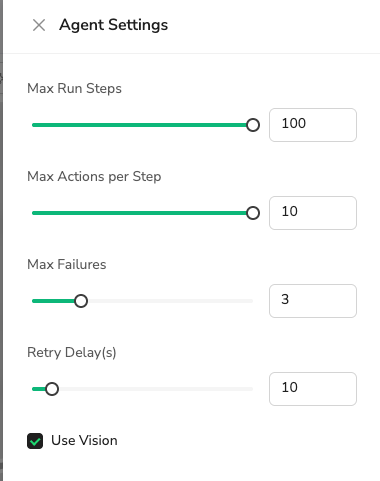
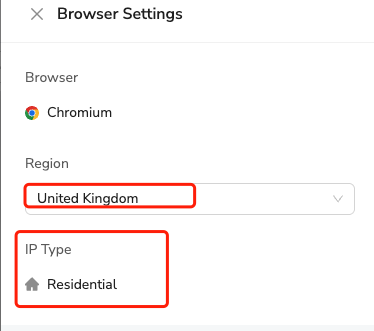
In the agent management panel, you'll choose your preferred language model, configure your agent settings, and select the IP address you want to use. These settings determine how your agent will interact with websites and handle different types of content.

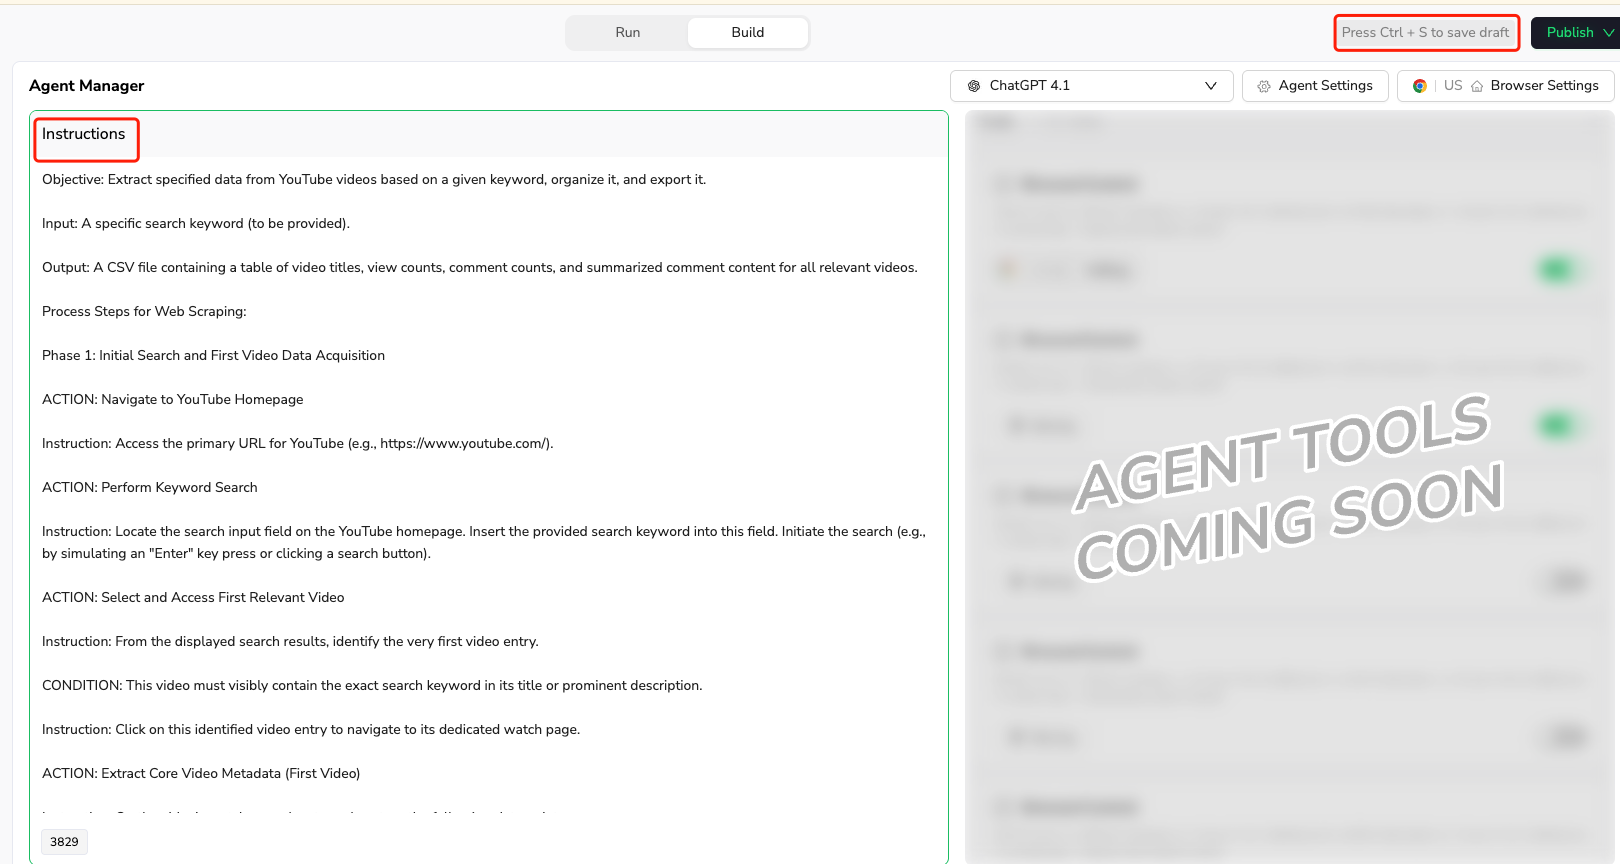
The most important part is writing clear instructions for your agent. Think of this as training a new employee. For example, if you want to collect brand reviews from YouTube, describe every step you would take manually. Include details about the output format you need, what content to ignore, and any specific requirements for the data collection.
The more detailed and precise your instructions are, the better your agent will perform. However, if you don't write everything out initially, you can always clarify your requirements when running specific tasks.
Running Your Agent
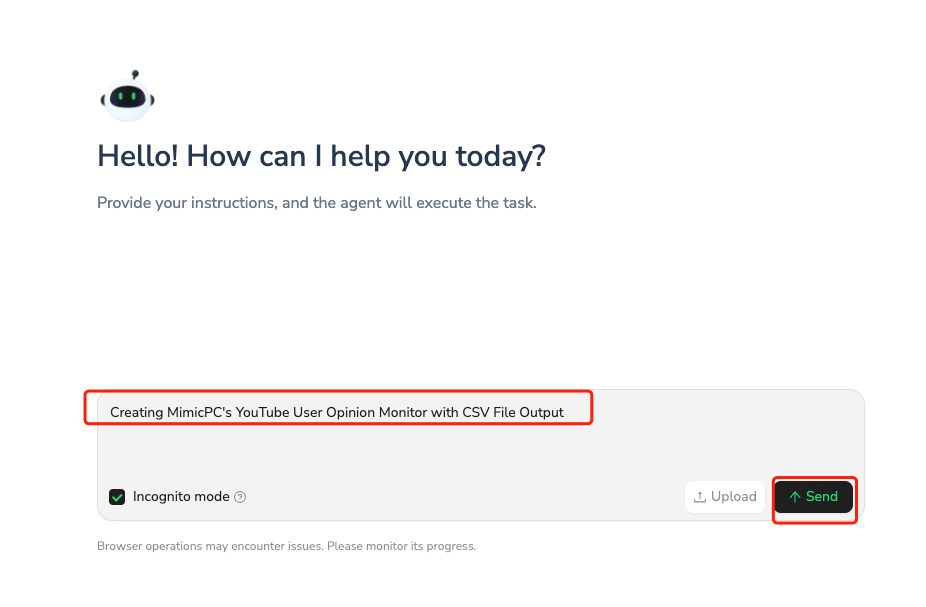
After completing your agent setup, click "Run" to access the task interface. Here you'll enter your specific task instructions and click "Send" to start the automated web process.
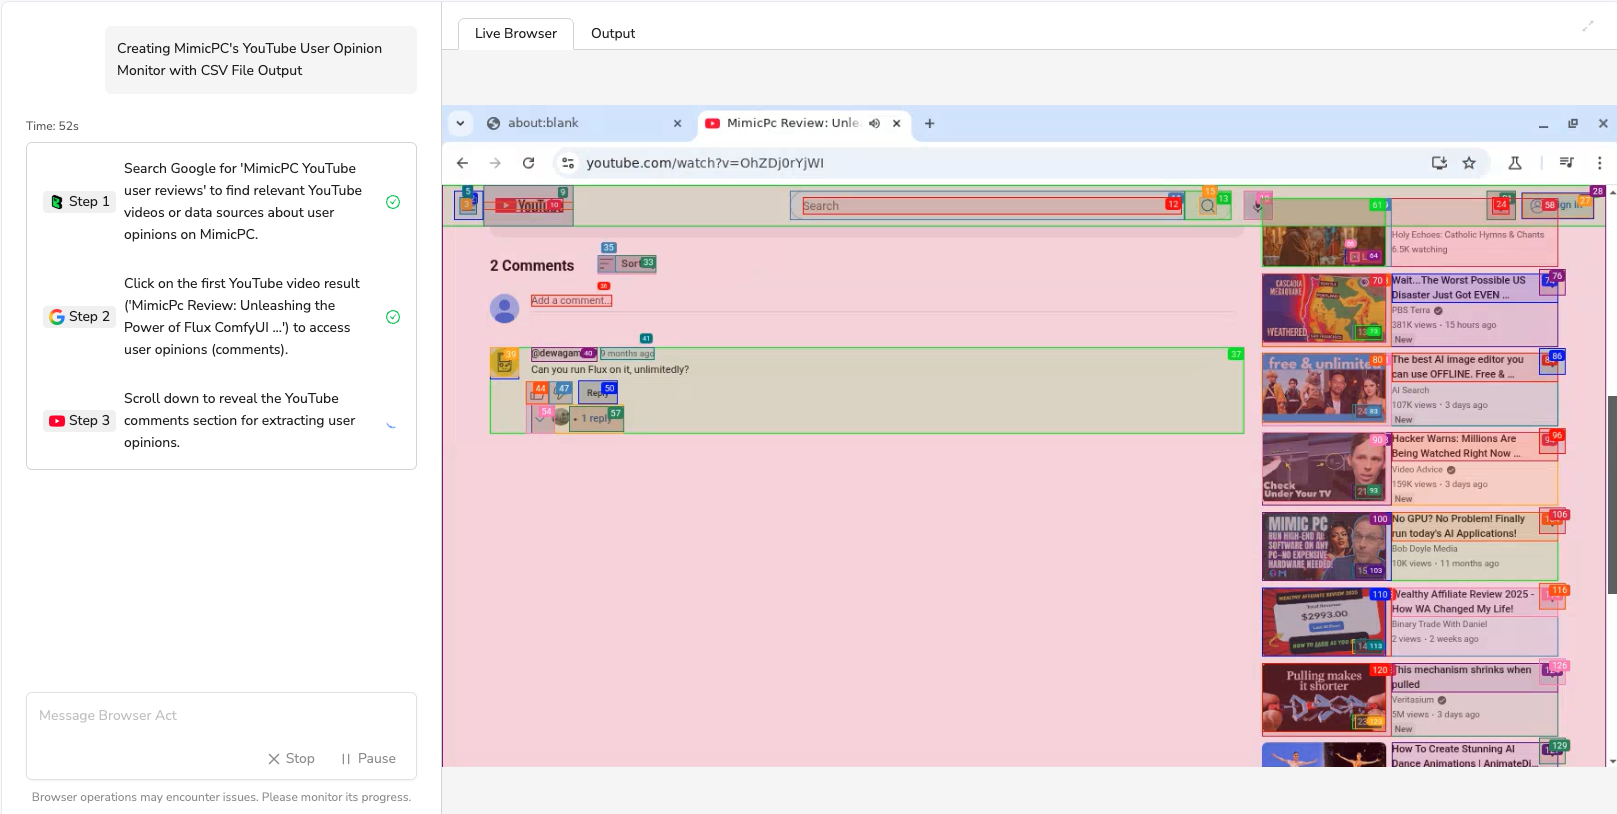
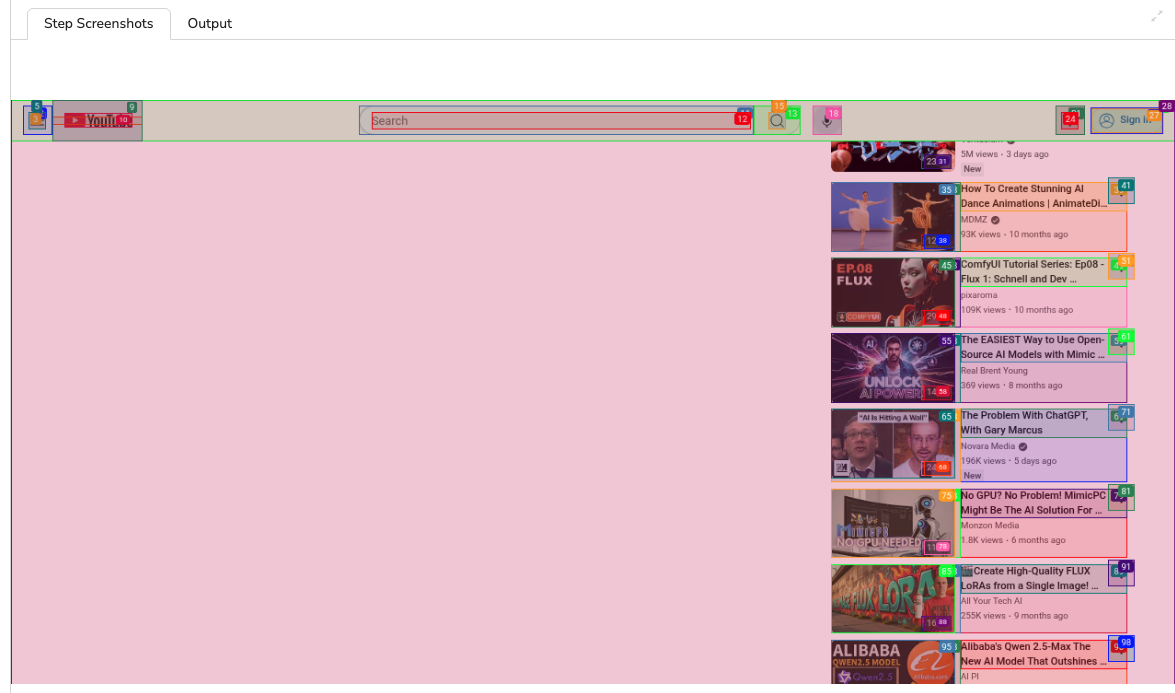
You can monitor every step your agent takes in real time. If you notice the agent is having trouble or going in the wrong direction, you can take control at any time by clicking on the browser interface. This lets you manually enter keywords, log into accounts, complete captchas, or perform other actions that help your agent continue successfully.
Managing Results and Costs
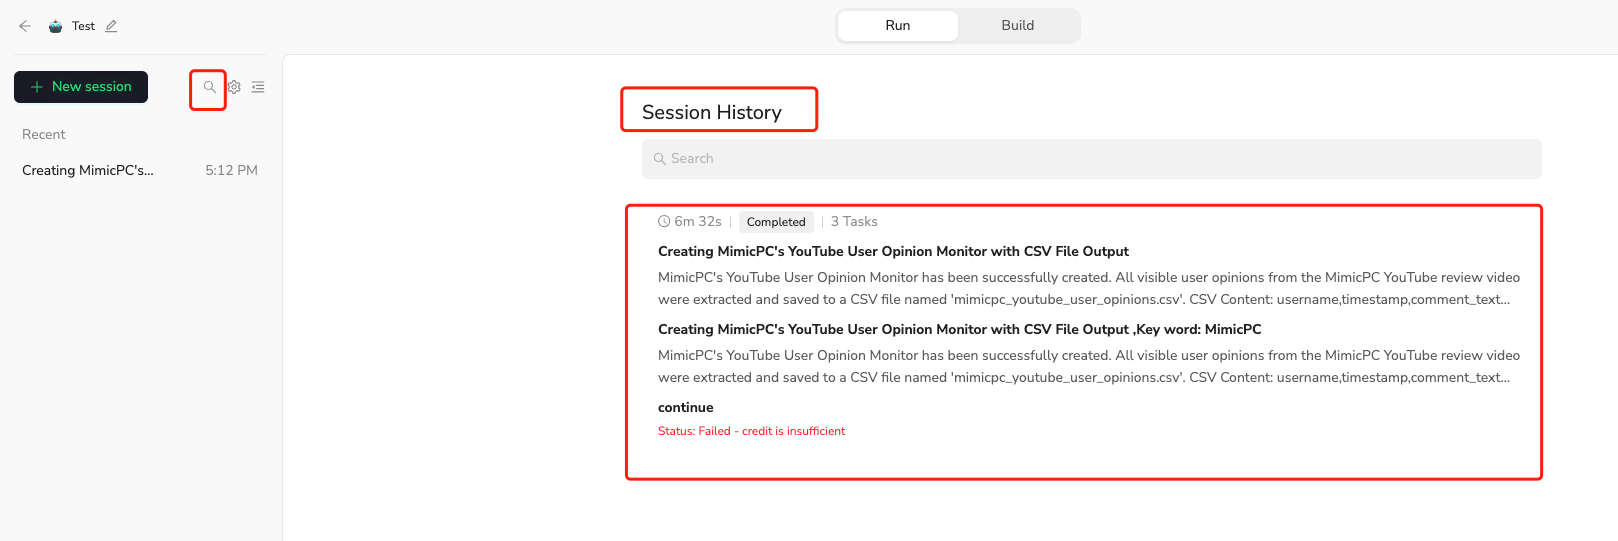
When your task completes, you'll see how many credits were consumed and have the option to download the results to your local machine. Keep a close eye on your credit usage, as lengthy processes can quickly drain your account balance. If you run out of credits mid-task, the entire process will fail.

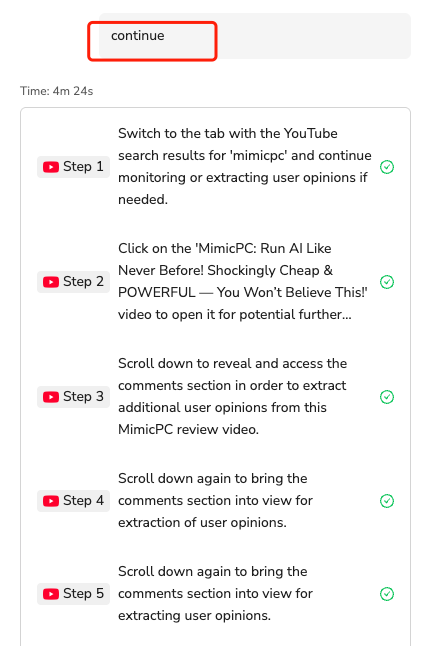
If the completed task doesn't meet your expectations, you can provide additional instructions or manually adjust the browser content, then tell the agent to continue. This iterative approach helps you fine-tune results without starting over.
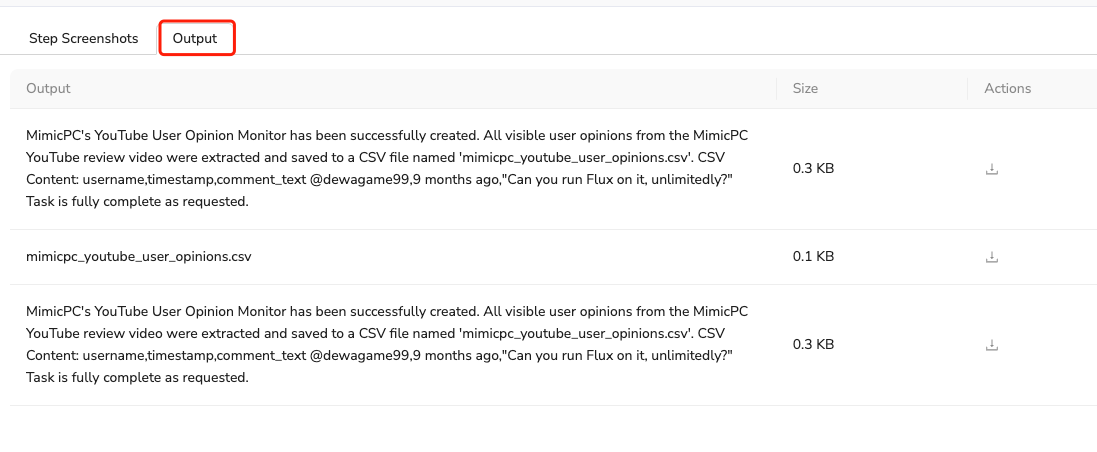
Reviewing Your Work
All completed tasks appear in the Output section where you can review the generated results.
You can also check your Session History to see previous tasks and learn from what worked well or what needed adjustment.
Remember that clear, detailed instructions up front will save you time and credits in the long run. Think through your complete workflow before starting, and don't hesitate to take manual control when needed to guide your agent in the right direction.

Relative Resources


Latest Resources
Browser Automation Tools: Why BrowserAct Is Better Than Firecrawl for Real Web Tasks
